



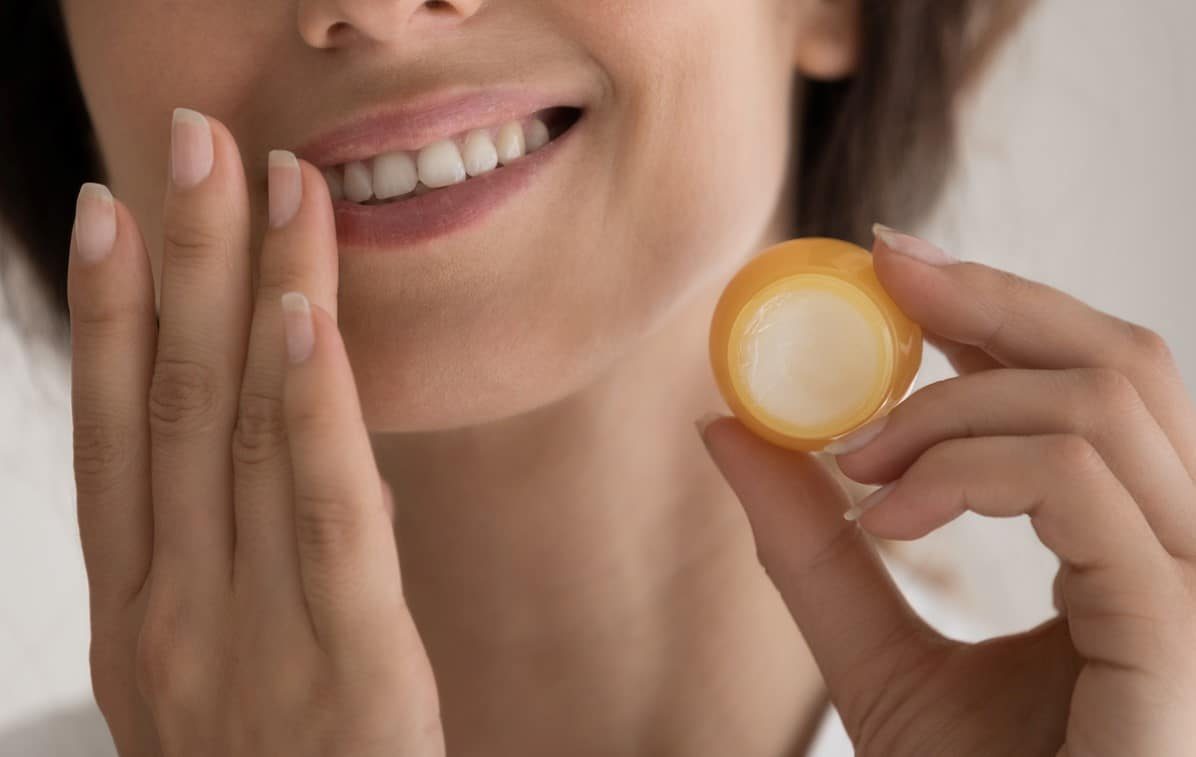
You might not realize how much of a difference simple exfoliation can make for your skin. It’s not just about removing dead cells. It’s about creating a smooth canvas.
When you slough away that dry, flaky top layer, you do more than just clean up. You soften the surface. You improve how your makeup sits on your face. And there is a surprising bonus. It can actually help plump things up a little.
Let’s talk about your lips. They are prone to dryness. They show age early. But you can fix that at home.
Exfoliation is not just cleaning. It is preparation.
Here is a simple recipe for a homemade lip scrub. You probably have the ingredients in your kitchen already.
The Basic Recipe
You need two things. Sugar and oil.
- One teaspoon of sugar. White sugar is gentle. Brown sugar is slightly more exfoliating but still safe.
- Half a teaspoon of oil. Honey works well. Coconut oil is good too. Olive oil is fine if that’s all you have.
Mix them together. The texture should be like wet sand. Not too runny. Not too gritty.
How to Apply It
- Take a small amount of the mixture.
- Gently rub it onto your lips in circular motions.
- Do this for about one minute.
- Rinse with warm water.
That’s it. Five minutes. Done.
Your lips should feel instantly softer. The rough patches are gone. Your lipstick will glide on without catching. It’s a small step. But it changes everything about how your makeup looks.
Why It Works
Dead skin cells build up on your lips. We kiss. We lick our lips when we’re nervous. We breathe through our mouths when we’re sick. All of that adds up.
Sugar crystals are round. They roll off the skin instead of cutting into it. This makes them safer than salt scrubs. Salt can sting. Sugar soothes.
The oil provides moisture. It seals in hydration. The combination gives you that plumped-up look without any injections.
Frequency
You don’t need to do this every day. Once or twice a week is enough. Over-exfoliating can damage the delicate skin on your lips. Keep it gentle.
If your lips are cracked and bleeding, skip the scrub. Wait until they heal. Then start the routine.
This isn’t a miracle cure. It’s maintenance. But it’s maintenance that makes a visible difference. Try it tonight. See how your lips look tomorrow morning.
The rest of the routine comes next. But this is where it starts.
Why your lips need an exfoliator (and how to do it)
Let’s be real. In a world where we’re juggling work, kids, and a social media feed that never ends, a lip scrub feels like a luxury we rarely afford ourselves. It’s not the first item on the grocery list. Yet, ignoring it has consequences.
The wind, the sun, and biting cold are relentless. They strip moisture. On top of that, long-wear lipsticks? They dry out the skin. You end up with lips that are thin, flaky, and uncomfortable. It’s not glamorous.
Exfoliation is the fix. It removes dead skin cells. It preps the surface. Once you hydrate after, your lips look naturally plump. Your favorite lipstick glides on instead of catching on rough patches.
The routine that actually works
You don’t need a daily ritual. Once a week is the sweet spot. Doing it more often can irritate the delicate tissue. Less is more here.
Here is the exact process to follow:
- Wash your hands and face with a gentle soap.
- Take a pea-sized amount of product on your fingertip.
- Rub your lips gently. Use small circular motions for a few minutes. Don’t scrub hard.
- Rinse with clear water.
- Pat dry. Do not rub.
- Apply an immediate layer of hydration.
The DIY recipe: 4 ingredients, 10 minutes
If you prefer keeping it simple, you can make this at home. It costs pennies. It takes ten minutes. And it uses ingredients you likely already have or can grab without much hassle.
You need just four things:
– Coconut oil
– Baking soda
– Brown sugar
– Honey
Each has a job.
Coconut oil is the base. It smells like vacation. It’s deeply nourishing and soothing. It also hardens below 20°C, which helps keep your homemade scrub stable in the jar.
Baking soda is the secret weapon. Grandmas knew this one. It softens skin. It has antiseptic and anti-inflammatory properties. It brightens, too.
Honey is nature’s moisturizer. It’s antibacterial. It heals. It’s an emollient that locks in moisture.
Brown sugar is the grit. It physically lifts away dead skin. It’s harsh enough to work but soft enough not to tear delicate lip tissue.
How to mix your homemade scrub
Get a small bowl. The preparation is straightforward.
- Add 3 tablespoons of brown sugar.
- Add 1 teaspoon of baking soda.
- Pour in 1 tablespoon of liquid honey.
- Melt 1 tablespoon of coconut oil in a bain-marie (or microwave in short bursts).
- Pour the melted oil into the sugar mixture.
- Mix until you have a uniform paste.
Want to get fancy? Add a drop of food coloring. Or skip it entirely.
Store the mix in an airtight container. Keep it in the fridge. It lasts about three weeks. Shake or stir it before every use to redistribute the oils.
Don’t skip the final step
Exfoliation is only half the battle. Once the dead skin is gone, your lips are thirsty.
You can buy a commercial lip balm. But if you want to stay natural, go for shea butter. It absorbs quickly. It’s incredibly hydrating. It seals everything in.
Your lips will be soft. Smooth. Ready for whatever you throw at them.
The routine is simple. The results are immediate. The only variable is whether you’ll actually do it this week.


